Introduction
Qobra can connect to your AWS account and synchronizecsv files from an S3
bucket.
This integration is readonly and will not write anything in your S3 buckets.
Access & setup
-
Create the S3 bucket that will hold your synchronized
csvfiles. -
Create an AWS policy with the least access needed for the integration to work:
s3:ListBucket: lists S3 buckets (among restricted resources)s3:GetObject: retrieves documents from S3 buckets (among restricted resources)
Attach the policy to the IAM user or role to give us access to the S3 bucket. If you are using resource based policy, make sure the bucket policy is updated accordingly. -
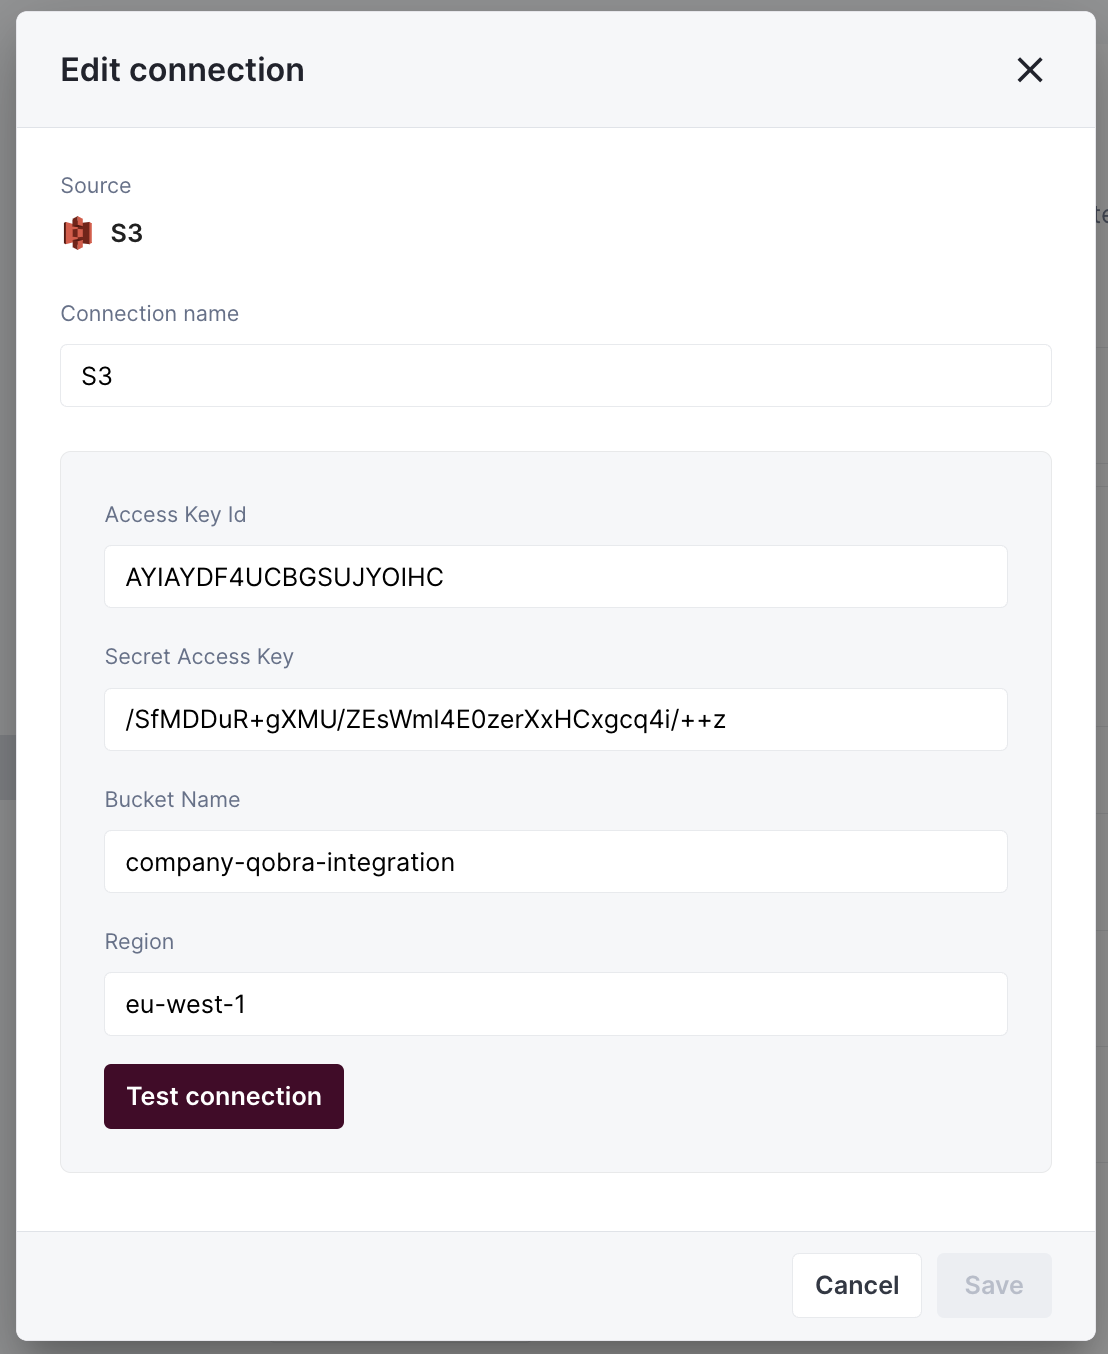
Fill in your bucket information in the application:
Synchronization
CSV file requirements
Qobra reads the file line by line and splits each line on;. It does not
interpret quotes, so a file that breaks the rules below fails to import, or
imports wrong values.
File
- The file has the
.csvextension, in lowercase. - The file keeps the same name and path: Qobra reads it from the path you entered when you added the data table.
- The file is encoded in UTF-8, without a byte order mark (BOM). Some tools, such as the CSV UTF-8 format of Excel, add one: the name of the first column then starts with an invisible character.
Lines and columns
- The first line is the header: the names of the columns, separated by
;. Give each column a different name. - Each following line is one record, and ends with a line break. Use Unix line
endings (
\n): with Windows line endings (\r\n), each value of the last column ends with an invisible carriage return. - Every line has as many columns as the header, empty values included. A record
with no value in its last two columns ends with
;;. - No value contains a
;or a line break. Quotes do not protect them:"Acme"is imported with its quotes, and a;between quotes still starts a new column. Remove or replace these characters when you export the file. - Empty lines are skipped.
Required columns
- A unique identifier column: each line has its own value, which never changes.
- A name column.
Values
An empty value imports as an empty field. Other values follow the type of the field that reads them:- Text: any text, such as
Acme renewal. - Date:
YYYY-MM-DD, such as2026-01-15. - Number and amount:
.as decimal separator and no thousands separator, such as12000.50. - Percentage: with
%, such as12%, or as a fraction, such as0.12. Without%,12reads as 1,200%. - Boolean:
trueorfalse, or1or0, in any case. Any other value reads as true. - User: the user’s email by default. You can choose another user identifier when you add the data table.
- Picklist: the option, such as
Europe. - Multipicklist: the options, separated by
,without spaces, such asEurope,Americas.
_currency, such as amount_currency, holding a currency code
such as EUR. Without this column, or with a code Qobra does not know, the
amount takes the currency of your company.
Example
Total synchronization
This integrations does total synchronization, meaning the whole document will be synced at every refresh.Refresh Schedule
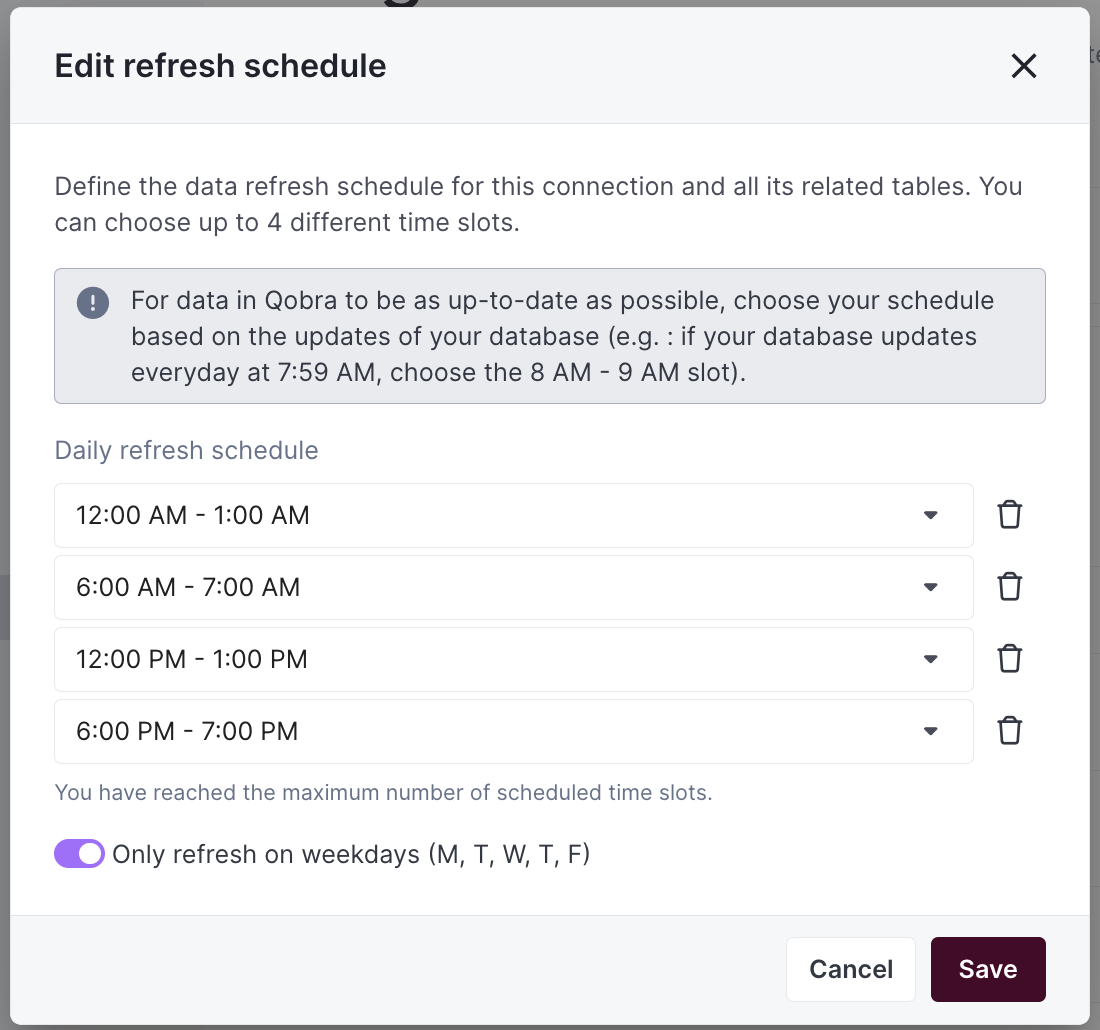
By default, we perform one Full Refresh per day to keep your data up to date. However, you can customize both the frequency and timing of these refreshes to better suit your needs:- Default Schedule: one Full Refresh per day
- Customizable Options:
- Adjust the number of daily refreshes
- Set specific hours for the refreshes to occur
- Configure the schedule through your integration settings
- On-Demand Updates: Need the latest data right away? Just click the refresh button in your integration settings