

Prerequisites
1
MCP enabled for your company
A Qobra admin controls access in Settings > AI. Before you connect,
the admin must:
- Turn on AI for the company.
- Turn on the MCP agent.
2
A Qobra account
You authenticate as yourself. The tools only ever return data your Qobra
user is allowed to see — the same role-based permissions as the app.
Server URL
The server speaks Streamable HTTP. Qobra runs it in two regions — pick the one that matches where your Qobra workspace is hosted (the same region you log in to the app from). If you’re not sure, ask the Qobra team.
There is no API key. Every client authenticates through the same OAuth 2.1
flow described in Authorize below — you only ever
paste the server URL, never a secret.
Everywhere below uses the EU URL as the example. If your workspace is hosted
in the US, substitute
https://mcp-us.qobra.co/mcp throughout.Add the server to your client
- Claude
- ChatGPT
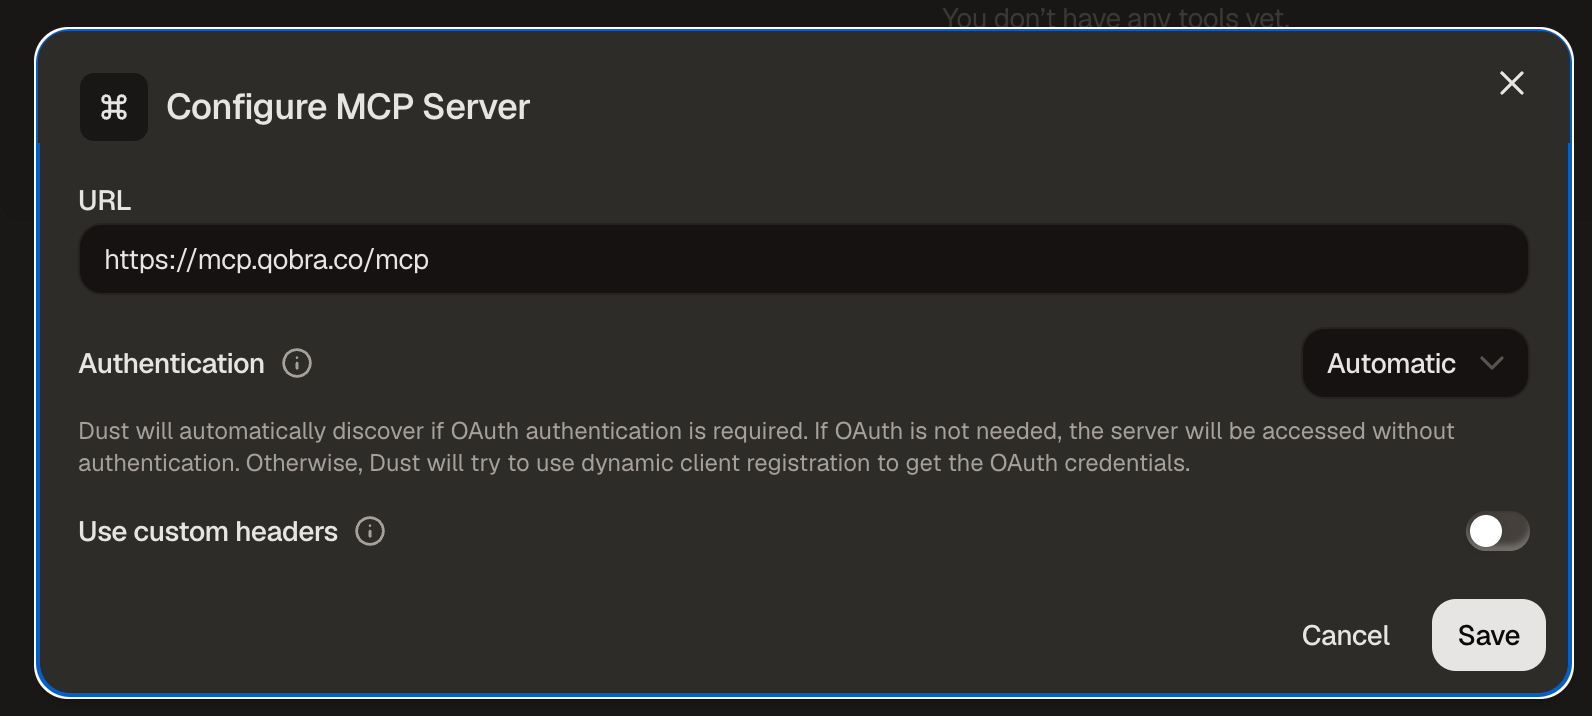
- Dust
- n8n
Open Settings → Connectors → Add custom connector, give it a name (e.g.
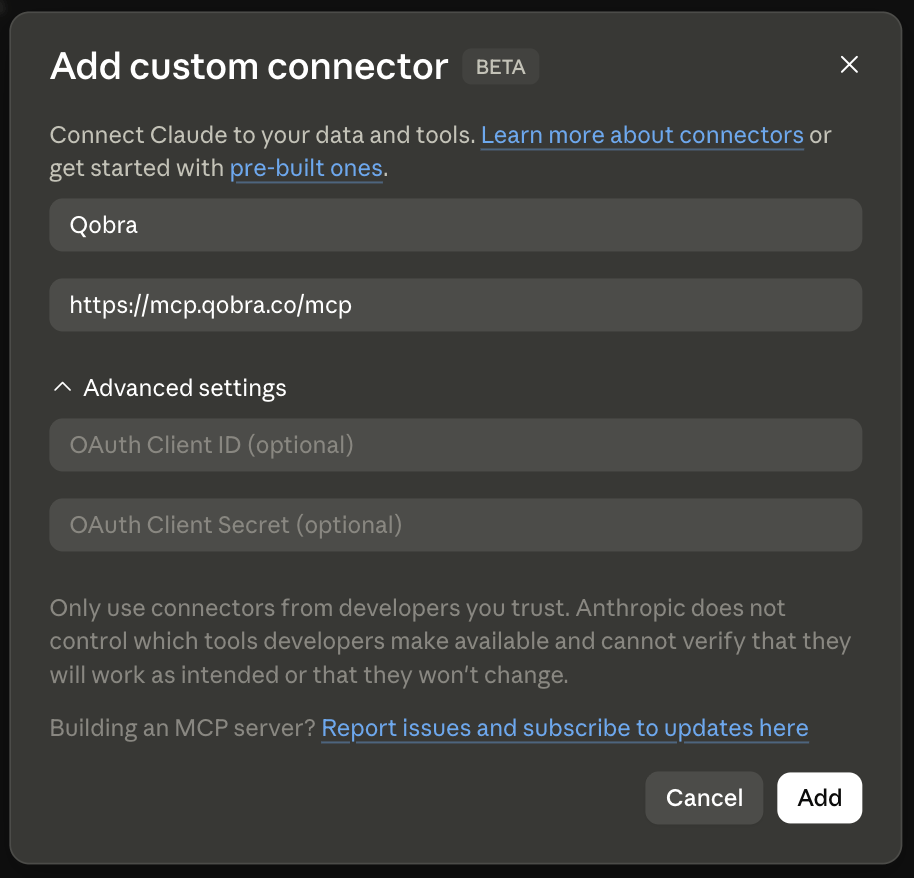
Qobra) and paste the server URL (https://mcp.qobra.co/mcp). Leave the
Advanced settings (OAuth Client ID / Secret) empty.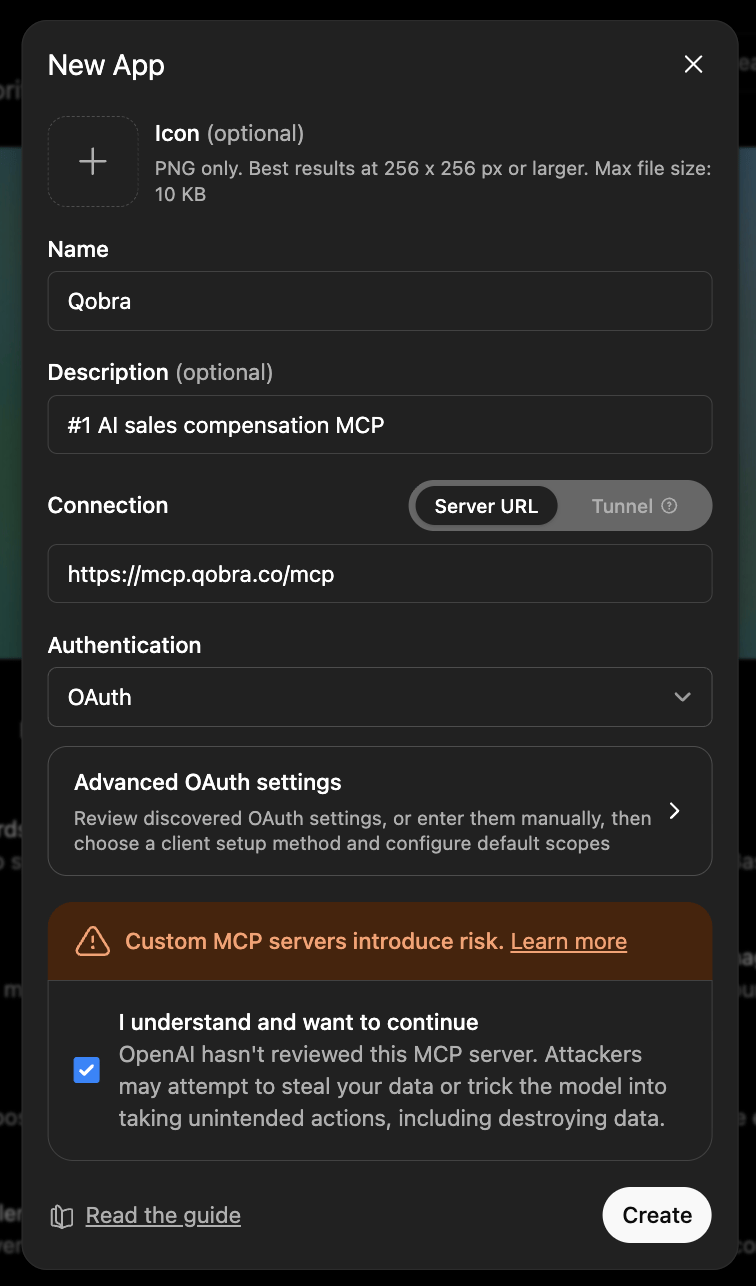
Authorize (OAuth consent)
The server is protected by OAuth 2.1 + PKCE — there is no API key to copy. The flow is identical for every client (Claude, ChatGPT, Dust, n8n). On first use:1
Discovery & registration
The client discovers the server’s OAuth metadata and registers itself
automatically.
2
Consent in your browser
The client opens the Qobra consent screen in your browser. Log in to Qobra
as usual (SSO / MFA included) and click Authorize.
3
Connected
The client receives a short-lived token and the Qobra tools appear in its
toolbox. Tokens are scoped to your user and company, and can be revoked.
Scopes
The server has a single OAuth scope:mcp:read. It publishes this scope in
scopes_supported in both its protected-resource and authorization-server
metadata.
- Every client gets
mcp:read, including clients that register without a scope. The/tokenresponse always returnsscope: "mcp:read". - If your client asks for scopes, request
mcp:reador no scope at all. - Do not request
openid. The server doesn’t support OpenID Connect and doesn’t issue anid_token. Any scope other thanmcp:readfails withinvalid_scope.